Your New Mobile Lab Reservation Calendar
Our upgrade to SharePoint 2016 during the summer of 2017 resulted in the loss of SharePoint’s conflict notification for reservations. Since that was unable to serve as our reservation system, we have set up a new site at reservations.granvilleschools.org that will handle all reservations for our technology resources, as well as a few shared spaces, such as conference rooms.
Logging In
To access Granville Reservations, simply visit reservations.granvilleschools.org and log in with your normal school username (no “@granvilleschools.org) and password.
Navigating the System
Once you have logged in, you will see a screen that looks something like the image below. This defaults to a full-week view of availability for all resources within the system. This table layout lists each day, followed by a row for each resource, and then repeats for each day moving down the list. Columns indicate reservation time slots for each resource.
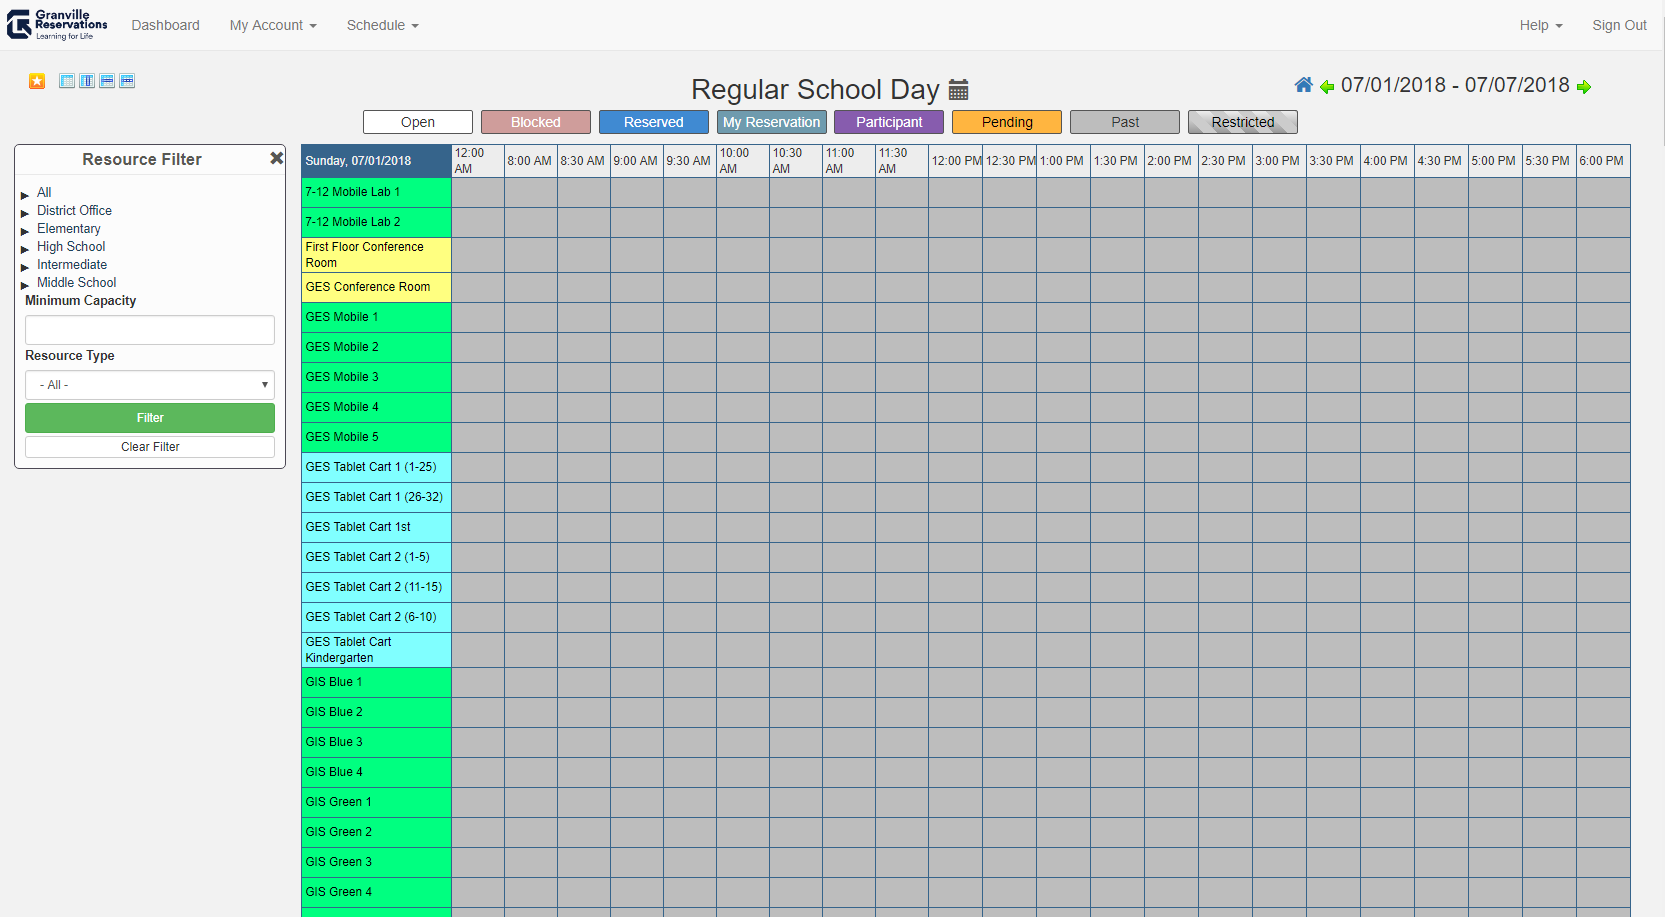
To simplify the reservation process, you can use the “Resource Filter” box on the left-hand side of the page to select only the resources in your building/grade level. This will allow you to more easily focus on the availability of those resources. To see all available options, it may be ideal to cast a wider net and check on all resources within your building/grade level. Once you have found a lab with availability, you could always refine the filter to include only that resource.

Once you have applied this filter, the original view you saw will modify to only include the desired resources. This will make it simpler to see the full-week view within Reservations. You can click the green arrows to the left and right of the date range in the upper right-hand corner to advance or move back by week.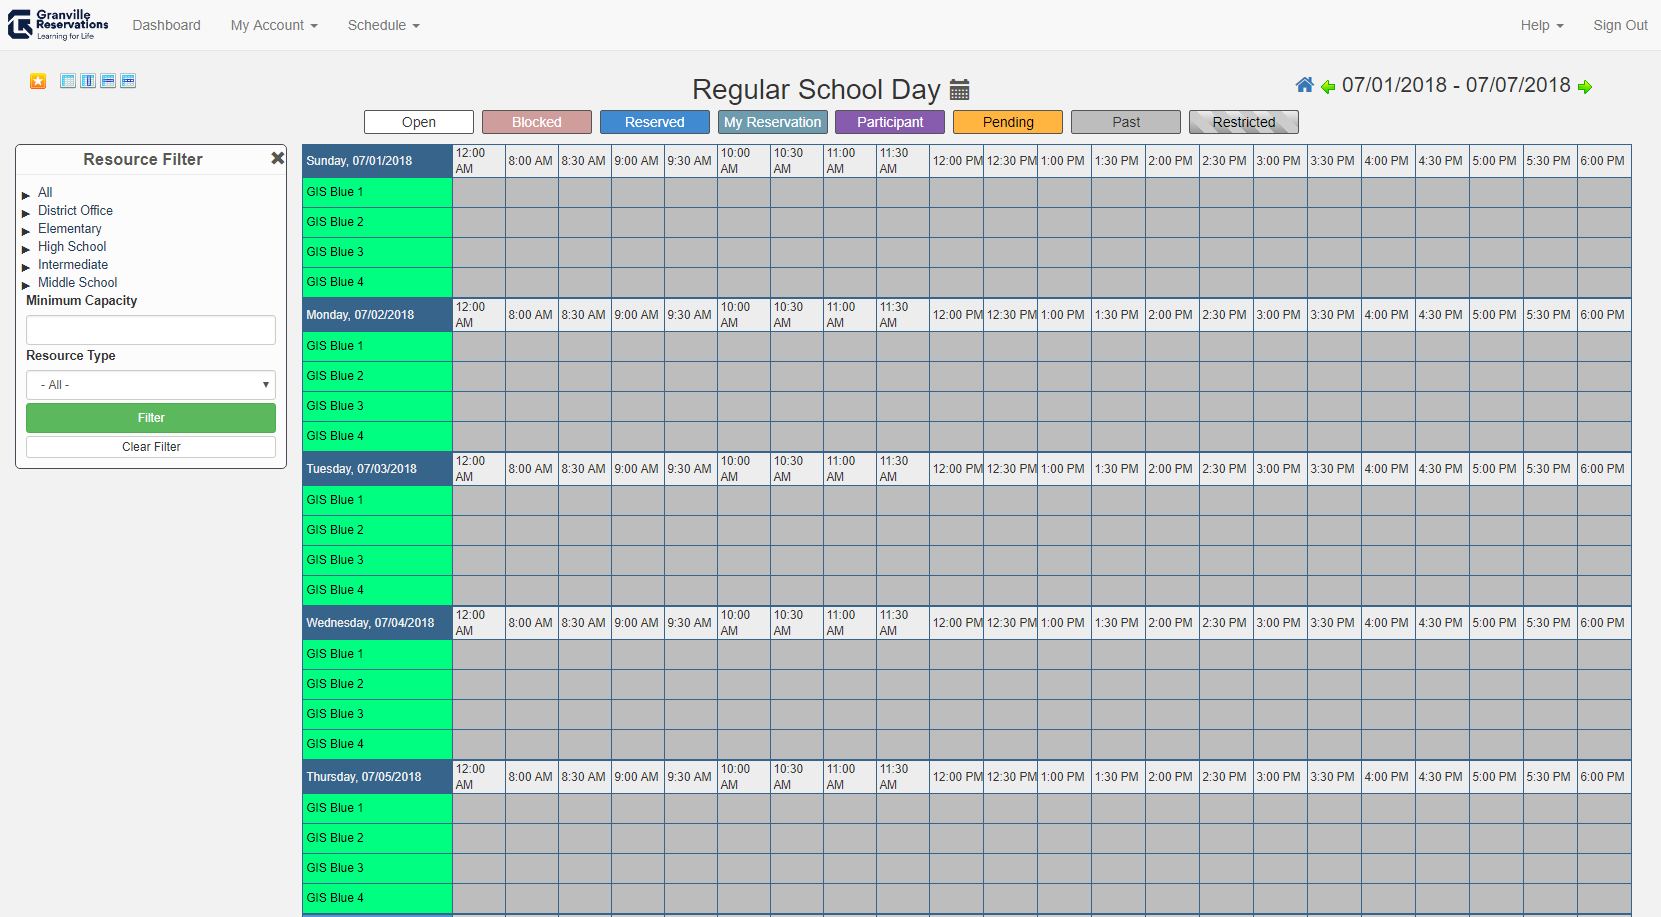
Creating a Reservation
To create a reservation, find a time slot where the boxes next to a resource are in white, indicating availability of that resource. If making a single-day reservation, you can click and drag from one box to another (e.g. 8 AM to 4 PM). You can also initiate your reservation by clicking on a single open white box.
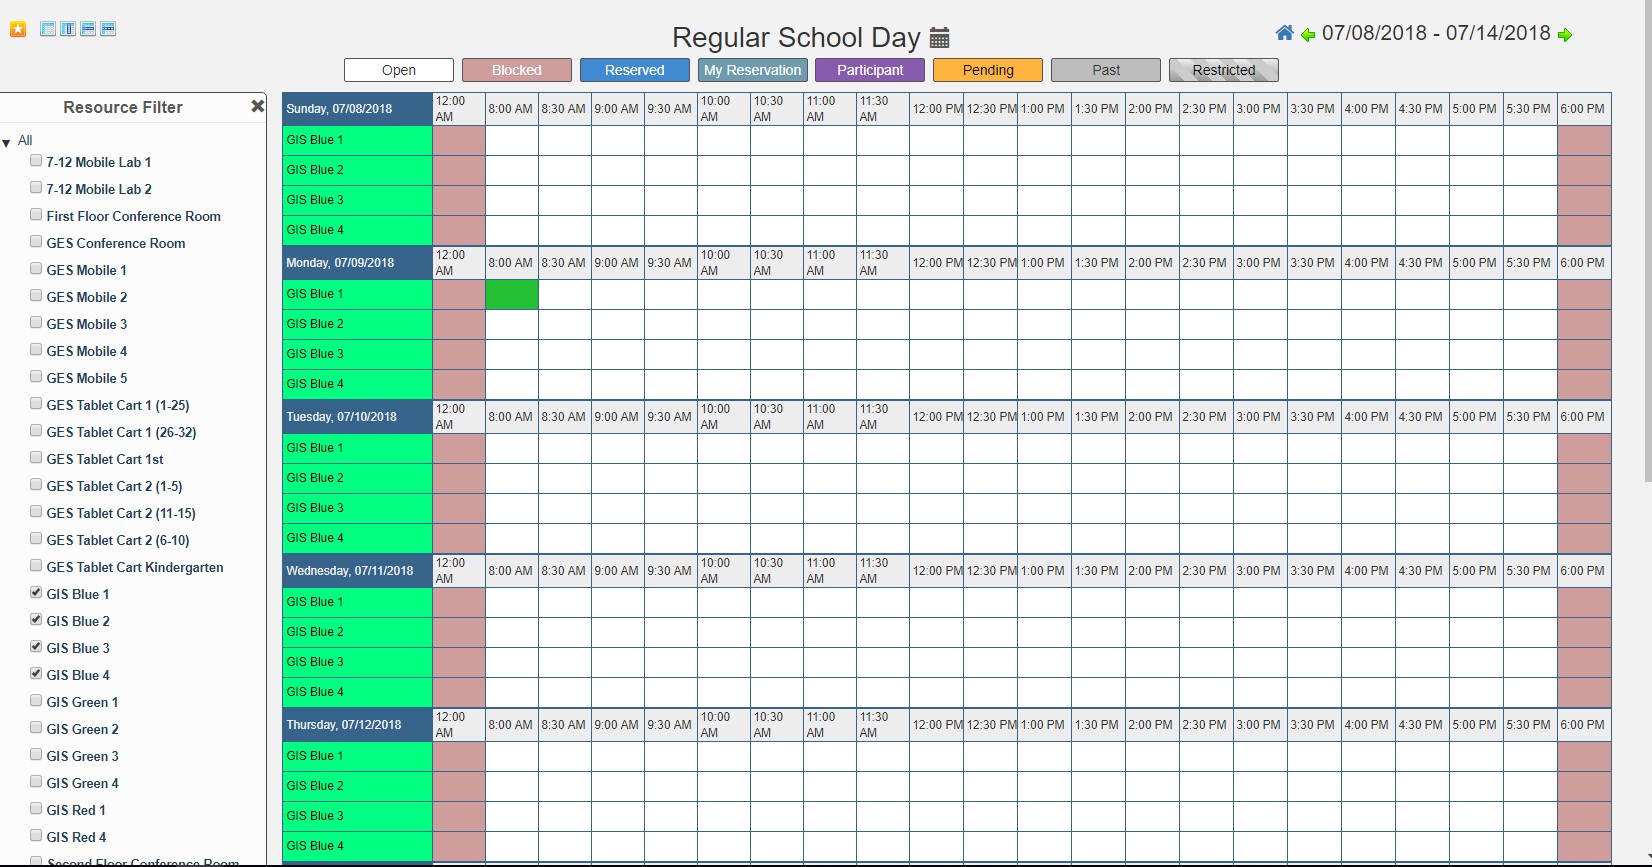
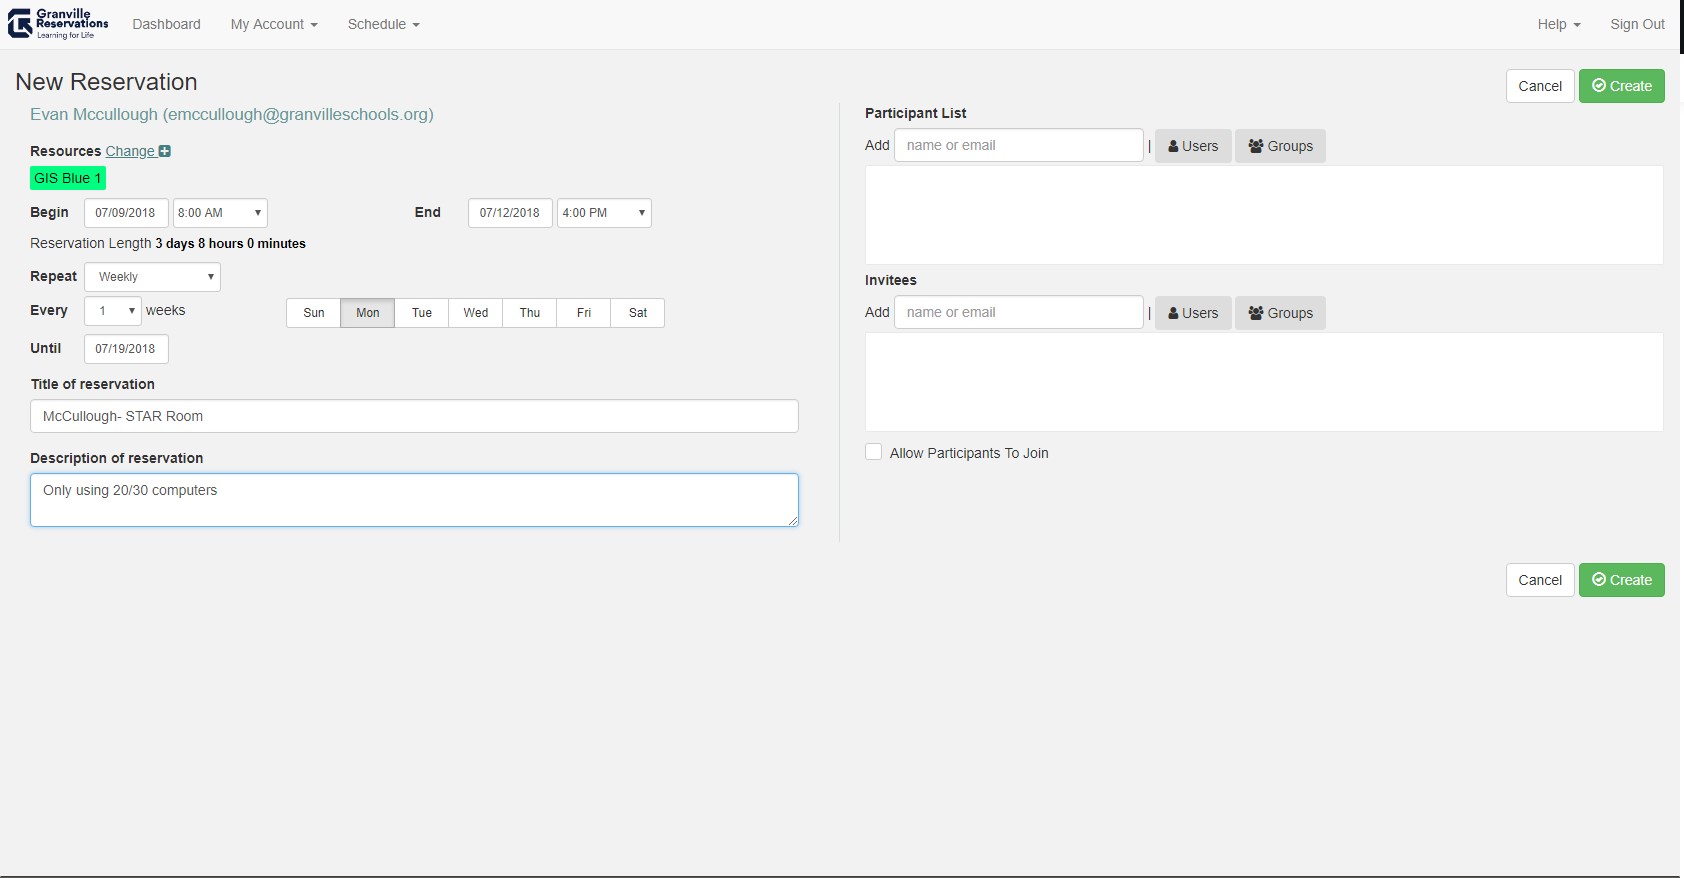
Clicking or dragging will then transfer you to a page where you are able to customize the details of your reservation. Within this page, you can customize the duration of your reservation (by day and hour), and you can also customize recurrence of your reservation. Add a title to your reservation, and you can add details if you want to share information about this reservation with your coworkers. In this example, I am sharing that I only need part of this lab, so one of my coworkers could borrow some of the laptops during this time slot.
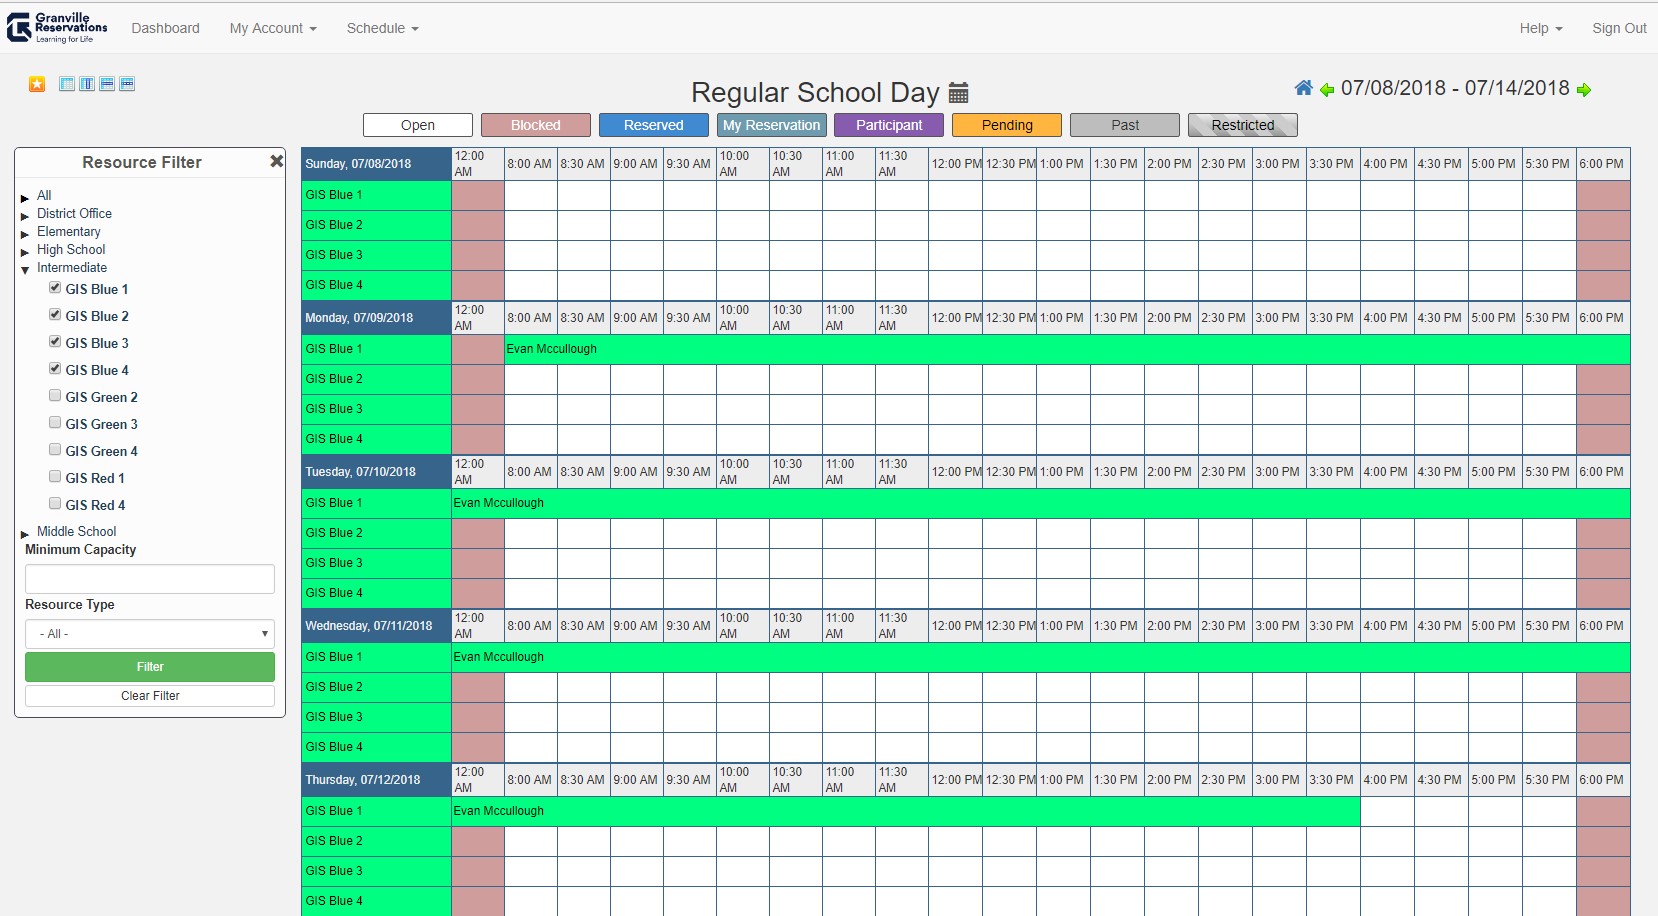
Once you click Create on this screen, your reservation will be submitted! It will then show up for all users, so that the resource is shown to be unavailable during the time slot that you have claimed.
If you click on that reservation, it will pull up reservation details, so that you can check the description for any flexibility.

Conflicting Reservations
If you happen to make a reservation that conflicts with that of another staff member, Reservations will warn you and ask you to change your reservation to work around that conflict.

In this example, I am overlapping the existing reservation for GIS Blue 1 on 7/11 and 7/12.

Useful Feature: Find A Time
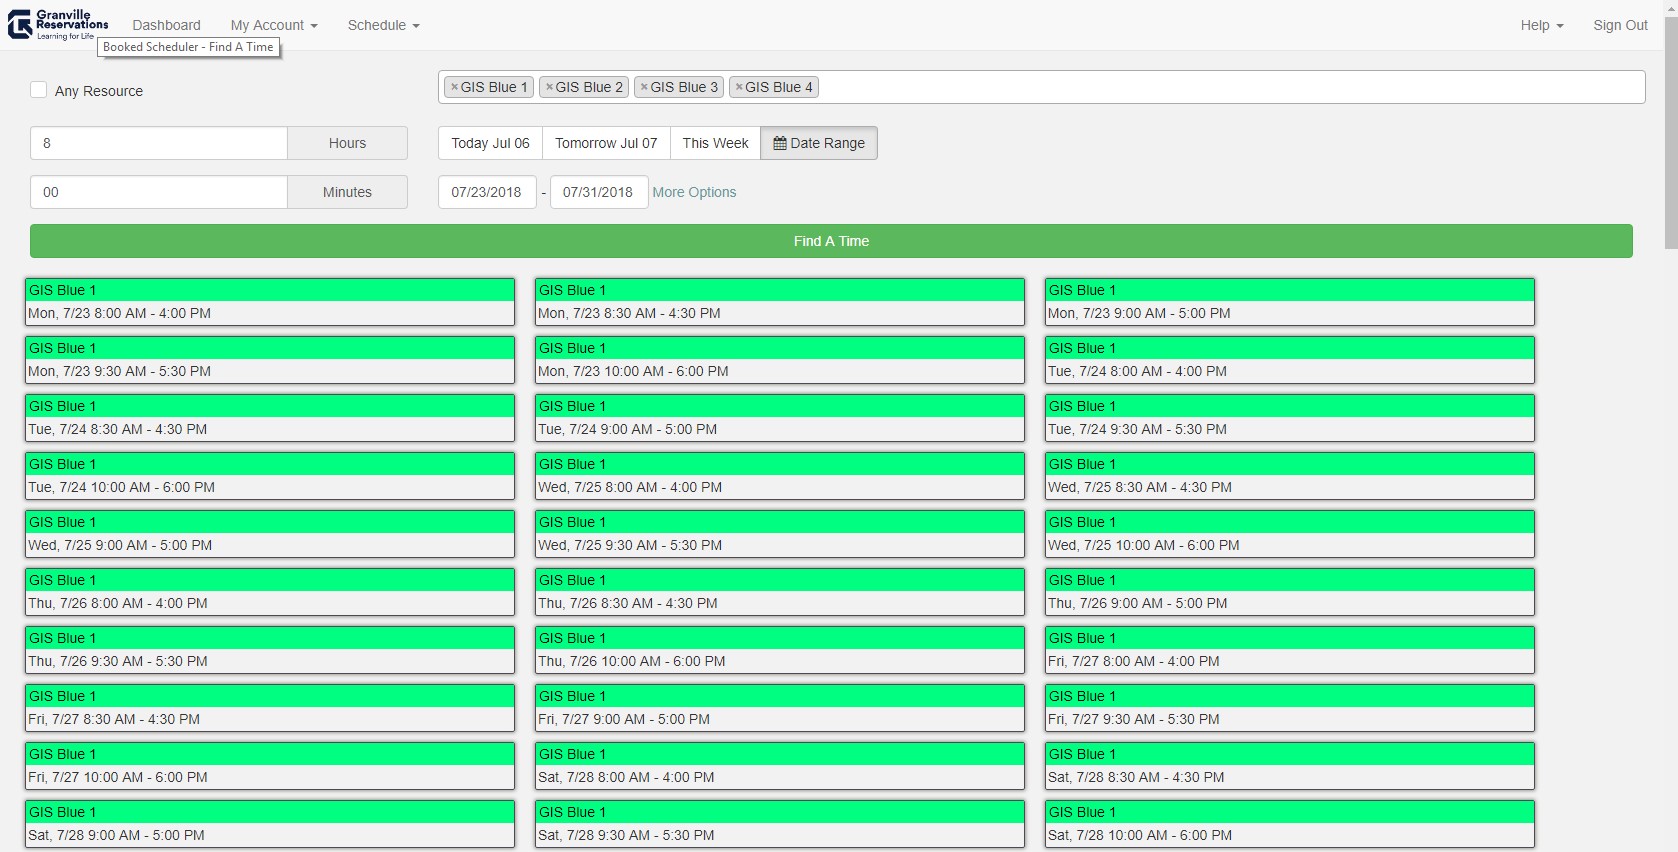
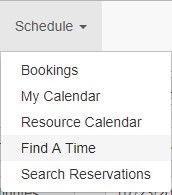
One neat feature included within Reservations is the “Find A Time” feature. If you know that you need a mobile lab for a day, but are flexible on where that day falls, this can help you see all of your available options. This feature can be found under the “Schedule” item in the menu at the top of each page.
With this feature, you can customize which resources you would like to check on, a date range in which you would like to find a time to reserve that resource, and the duration of time for which you wish to reserve that resource. Reservations will then display any matches that it finds for those search criteria.
