This is a quick article to share some quick information about best practices and quirks with AirFoil.
Building Classes
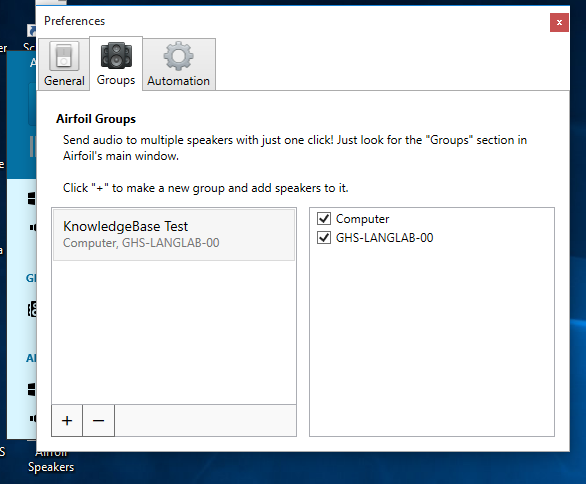
One useful feature that AirFoil offers is to build “Groups” of “speakers” (in our case, computers). This is accessible in AirFoil’s Preferences under the Groups tab.
A new Group can be created by clicking the “+” button and then checking the boxes next to all desired recipient speakers/computers for the group. The list available for selecting these computers is based off of all local computers that are signed in and running AirFoil Satellite, so all students need to have the program up and running on the computer that he/she will use all year before creating these groups. Once all students have AirFoil Satellite running, simply check the boxes next to all of the computers listed (they show up by machine name), and your group is created!
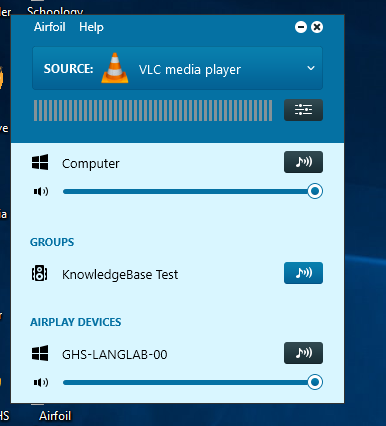
After that, teachers are able to push audio to all students quickly with a single click, rather than clicking the button for each station to send audio.
Choosing Audio Source
AirFoil (the teacher version) allows teachers to choose which program they wish to use as the source of the audio broadcast. AirFoil breaks these sources up into different categories, including Recent Sources and Running Sources. Do not choose any sources listed under Recent. For some reason, audio never seems to come through with that approach.
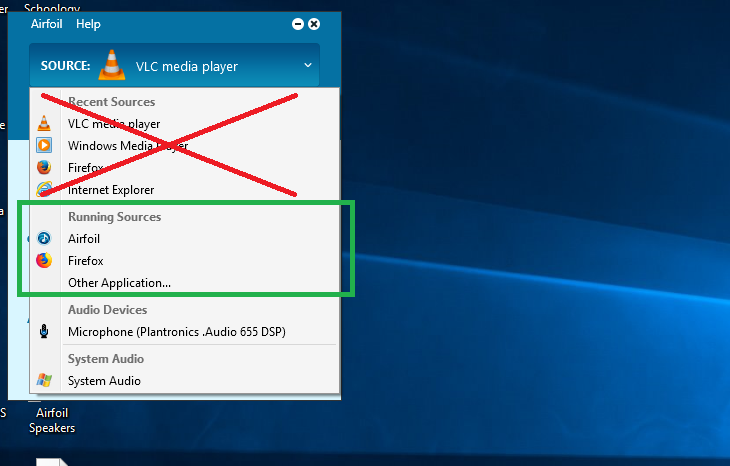
Audio Sources that we have found to work well are primarily Google Chrome (YouTube Videos) and Windows Media Player. I plan to test using the Windows Music app (Groove?) with Mosquera at some point to make sure things should work normally when Windows Media Player eventually goes away.