Thinglink is a useful website that allows you to take images and add in “tags”, or “hotspots” that will highlight parts of that image and allow students to share additional information about that image. This article is a quick guide for setting up an account to make sure that students do not incorrectly choose a Business type of account, which has fewer free features.
Setting Up an Account
- Go to https://www.thinglink.com.
- On this page, click on the Login option in the menu in the upper right hand corner.

- On the login page, look under the boxes for where it says “Sign up for free.” Click on that.
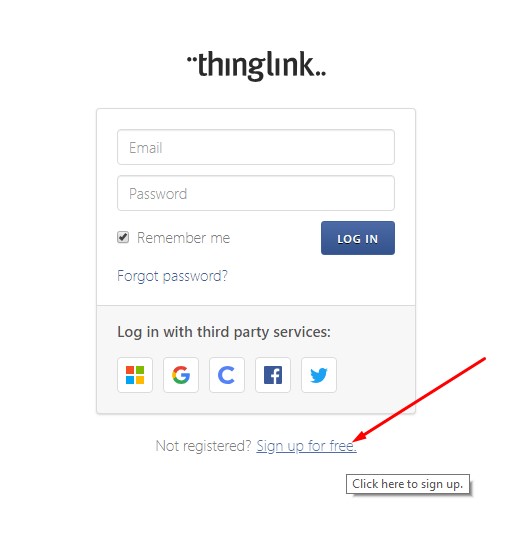
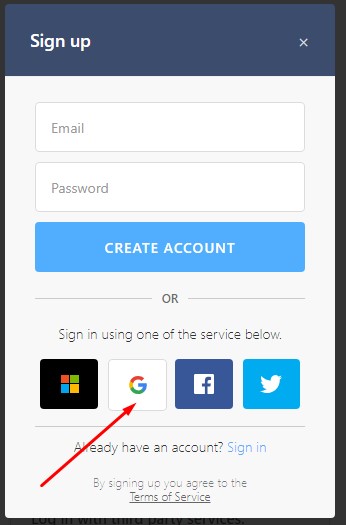
- You will be directed to a page where you can then create a new Thinglink account. To avoid needing to remember another password, it is recommended that you sign up with your school Google account by clicking the button with the Google logo.
- Thinglink will then ask you to choose your account type and enter some information. MAKE SURE YOU SELECT SCHOOL AS YOUR ACCOUNT TYPE. Enter your name, set your role as Student, and select your Date of Birth (note, Thinglink uses DD/MM/YYYY format, rather than our usual month-first approach). You do not need an invitation code and it is recommended that you uncheck the “Subscribe to newsletter” box.
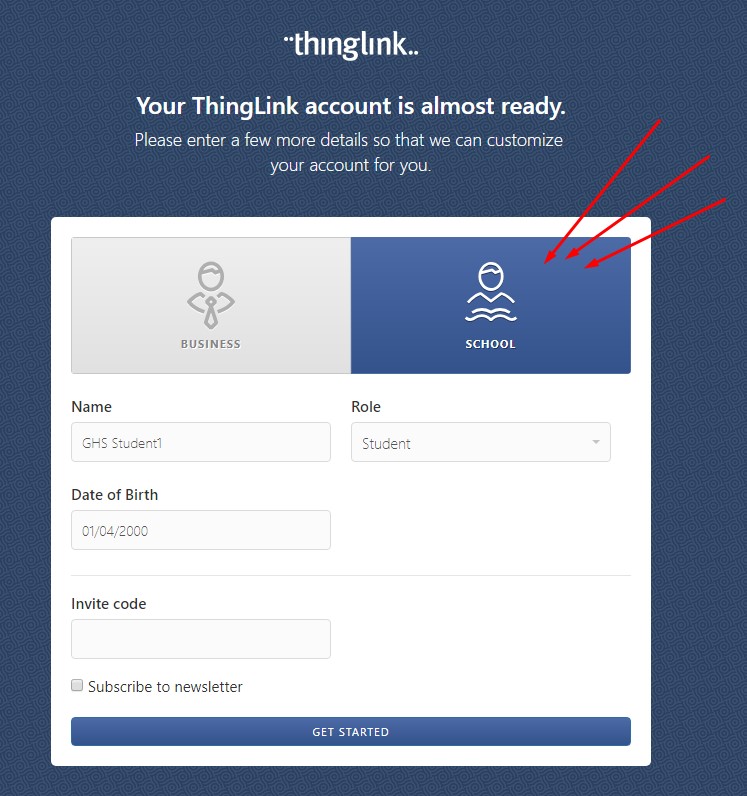
- Once you click “Get Started” you will be into your new Thinglink free account! You will not have access to all of Thinglink’s features, but you will have more options as a School user than as a Business user.